This post may contain affiliate links, which means we may earn a small commission at no extra cost to you. We only share products we love to help you plan your parties. You can read our disclosure policy here.
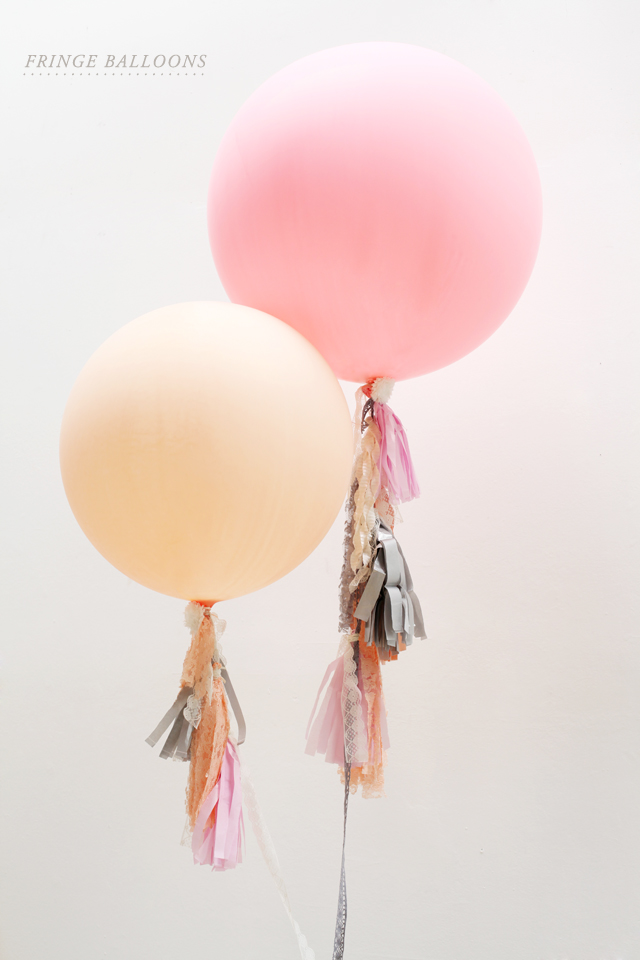
If you’re wondering how to make those fun, pretty balloon tassels, look no further than this easy to follow tutorial!
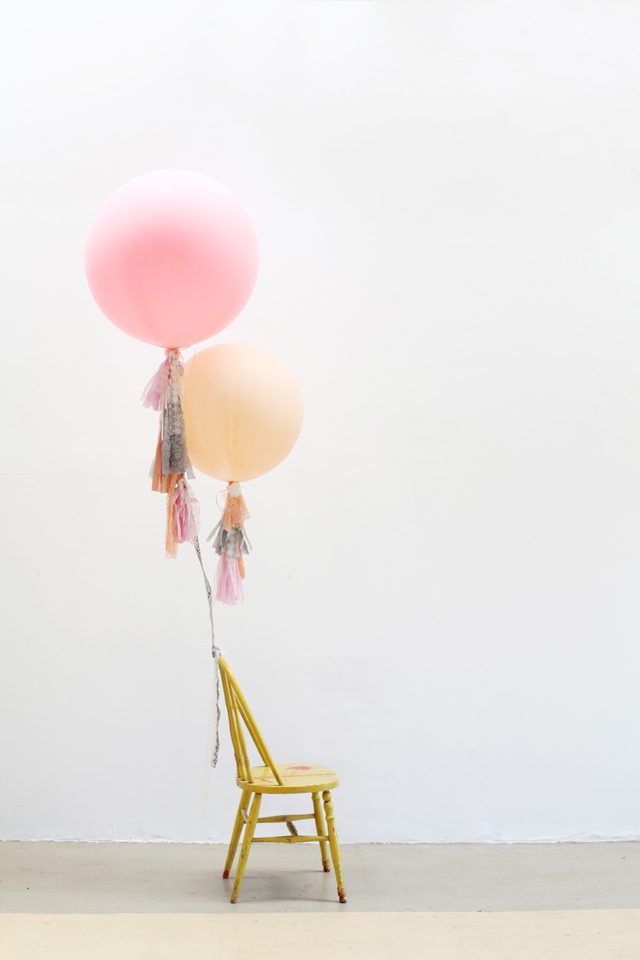
Jessie Webster of Sweet Thing is sharing this fun tutorial for DIY Fringe Balloons. These DIY Balloon Fringe Tassels are super easy to make and they add a festive touch to any party or event. Giant balloons with tassel garlands are so in right now and really add a little pizzazz to your party decor.
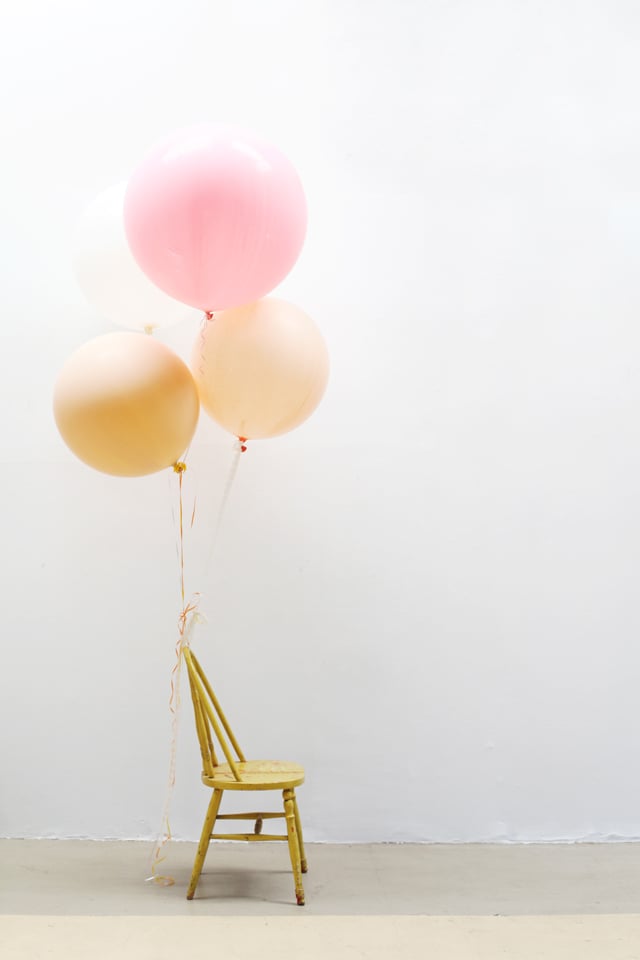
You can use them for birthday parties, baby showers, bridal showers or engagement parties. Add the DIY Fringe Balloons to each side of your dessert table or gift table.
Balloon Tassel Garlands You Will Love:
- Greenery Balloon Garland
- Set of 5 Silver Tassels
- Blush and Rose Gold Giant Confetti Balloon With Tassels
- Large Balloon With Rainbow Tassel
- Large Heart Balloon With Fringe Tassel
Supplies You Need:
- 30 to 36″ round balloons. Get the balloons blown up at your local party store, but make sure you can fit them in your car!
- Tissue paper and/or fabric in 3 to 4 different colors. The fabric should be light weight so it doesn’t weigh the balloons down.
- Scissors
- Lace Ribbon
- Optional: Rosette for the top.
How to make DIY Fringe Balloons
Directions:
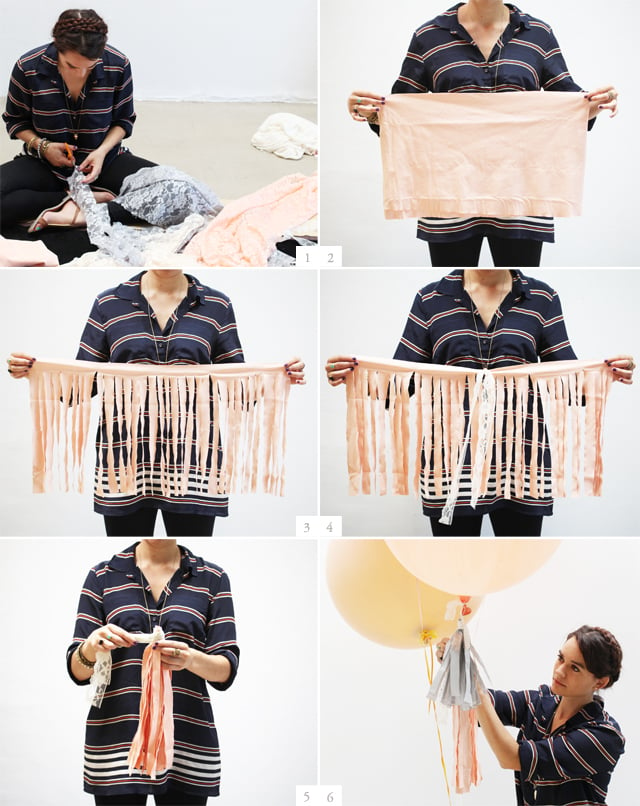
- Start by cutting your lace ribbon in a strip about 5 to 6 inches long. This will take the place of the ribbon holding the balloon.
- Cut the fabric into rectangles approximately 1 x 1.5 inches. If you’re using tissue paper, there is no need to cut. Just fold the sheets in half lengthwise.
- Cut strips in the fabric/tissue paper leaving approximately 1.5 inches on the top uncut.
- Tie a piece of lace or ribbon around the center of the fringe.
- Fold the fabric/tissue paper in half, so the ribbon is on the left side. Roll it up and then wrap the lace around the top and tie it in a knot. Make sure to leave a few inches of ribbon free to attach the balloon.
- Tie your pieces of fringe onto the lace handle starting at the top. It looks best to vary the color of the fringe.
- Optional: Place a rosette at the top directly under the balloon.
There you have it – these DIY Fringe Balloons are a simple, fun and festive DIY party decoration that you can incorporate into your parties, wedding, events, or photo shoots! We love to see your DIY party projects. Tag @prettymyparty on Instagram with the hashtag #prettymyparty and your project could be featured on our Instagram!
For more party ideas, follow us on Instagram @prettymyparty and Pinterest a
Don’t miss these DIY Party Ideas:
- DIY Painted Flower Vase
- DIY Glittery Custom Champagne Favors
- DIY Floral Chair Backs
- DIY Glitter Champagne Flutes
