This post may contain affiliate links, which means we may earn a small commission at no extra cost to you. We only share products we love to help you plan your parties. You can read our disclosure policy here.
This is a sponsored conversation written by me on behalf of Balloon Time. The opinions and text are all mine.
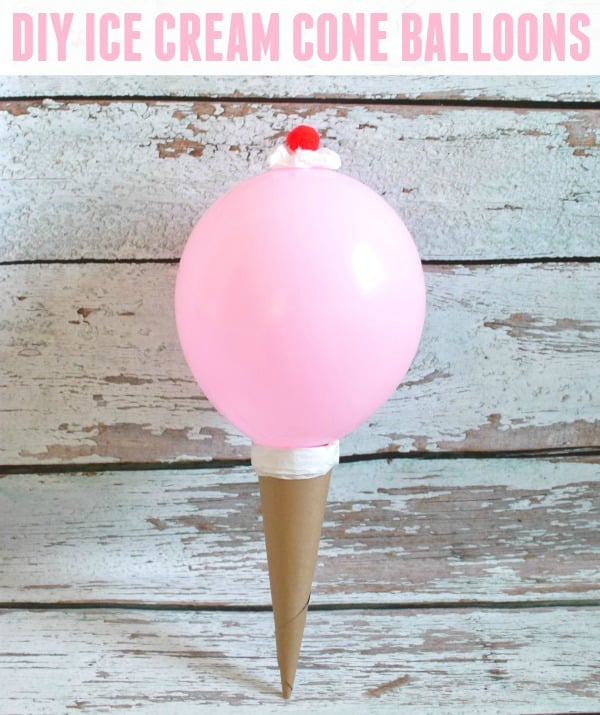
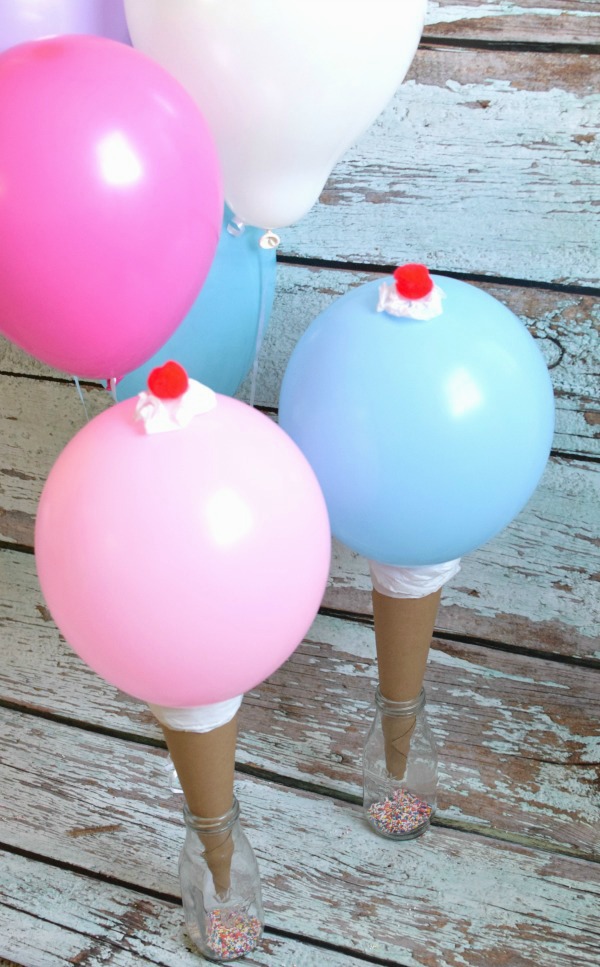
Everyone LOVES ice cream in the summer and these super easy DIY Ice Cream Cone Balloons are the perfect addition to an ice cream birthday party or end of summer party! Surprise the kids with a fun ice cream party and make sure these adorable DIY Ice Cream Cone Balloons are added to the fun, festive decor! Whether you’re planning a chic and girly ice cream party for your daughter or surprising your children with an end of summer ice cream party, these DIY Ice Cream Cone Balloons will be a hit with the kids!
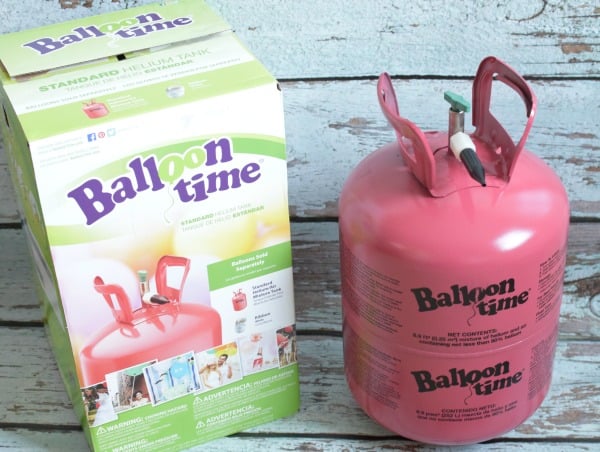
A party just isn’t a party without balloons, right?! There are so many fun things you can do with balloons to make any party special. My one must-have for any party is a Balloon Time® Helium Tank. It’s so convenient to have one around the house for an impromptu ice cream party surprise or an upcoming party or event.
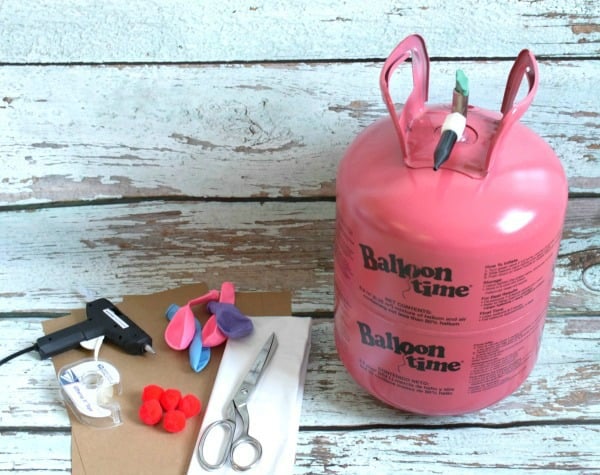
Supplies you need:
- Brown construction paper
- Pencil or pen
- Glue gun and glue
- Scissors
- Tape
- Balloons
- Balloon Time® Helium Tank
- White tissue paper, optional for whip cream
- Red pom poms
- Thread to hang
Instructions:

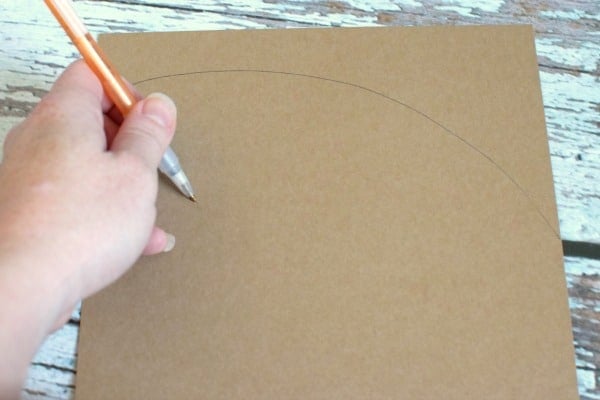
- Use a pencil to draw an arc on a square piece of construction paper, creating a quarter circle. Then cut it out.

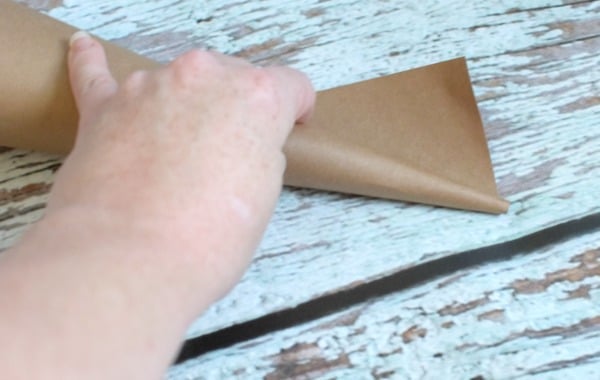
- Roll your brown construction paper to form a cone shape.

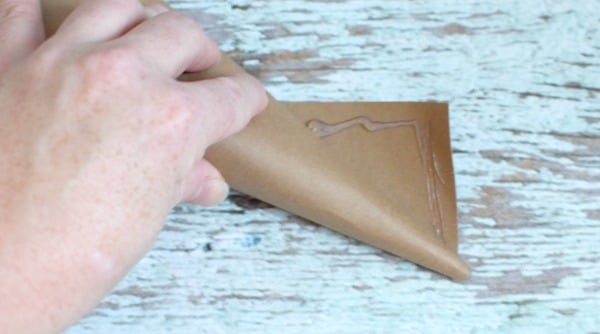
- Use tape or hot glue to secure the cone.

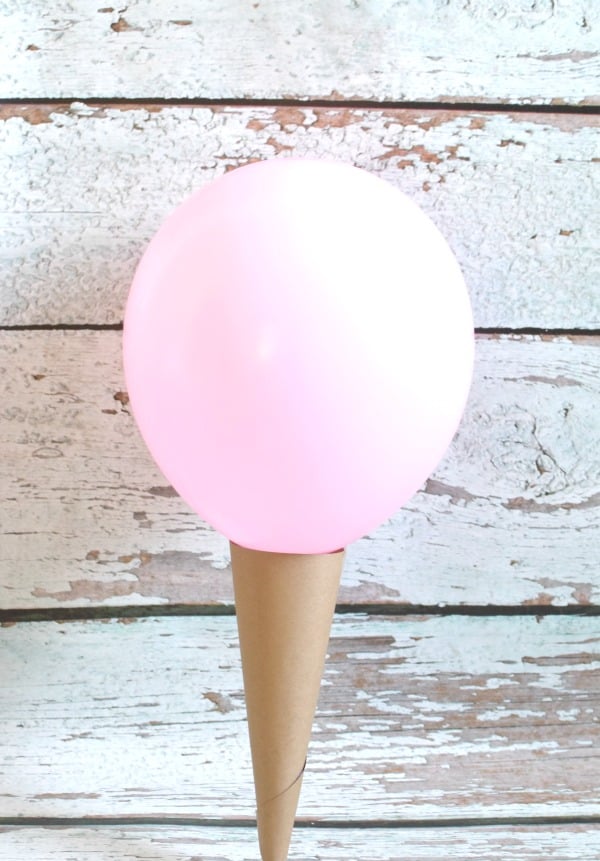
- Blow up a balloon (you can use any color balloon for your ice cream) with the Balloon Time® Helium Tank.

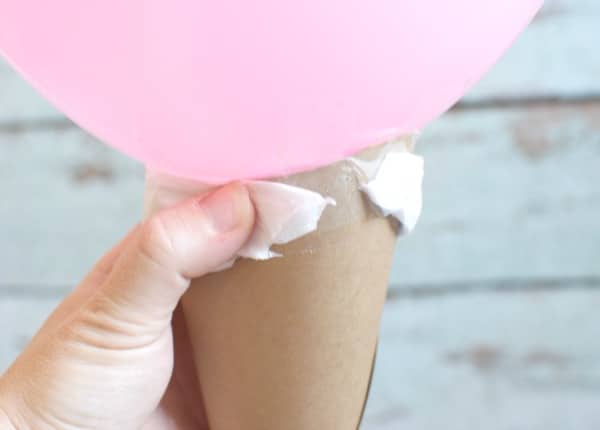
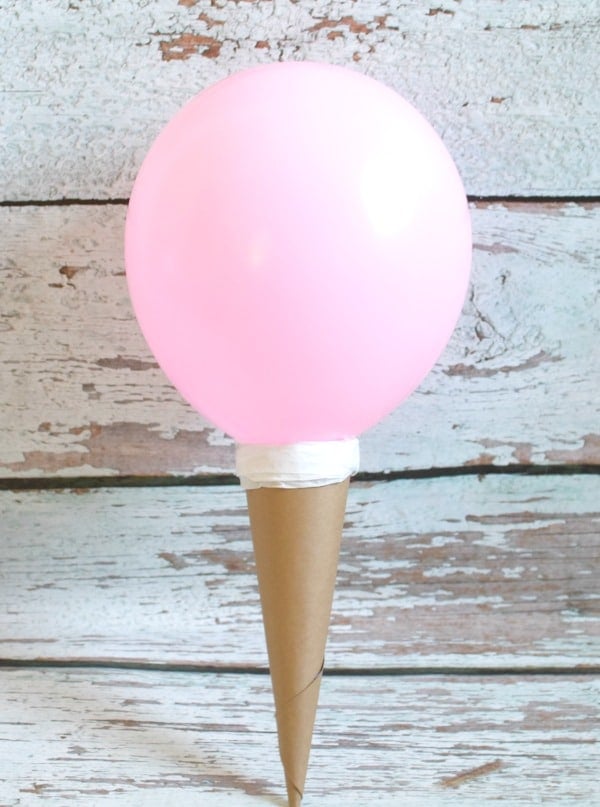
- Place the pink balloon on top of the cone and use tape to secure the pink balloon to the cone.
- Take white tissue paper and crumble it.


- Place the crumbled tissue paper around the bottom of your balloon on the cone using tape. The white tissue paper makes it look like whipped cream and hides where the cone meets the balloon. This just makes it look nicer.

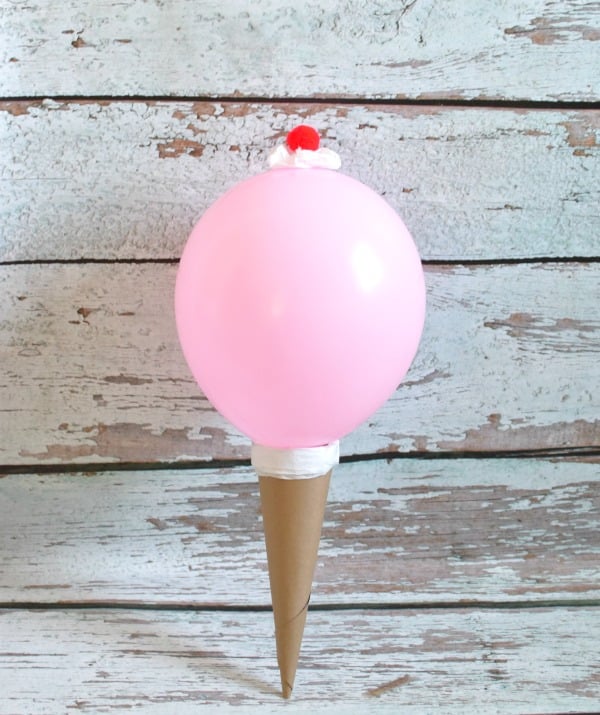
- Add white tissue paper to the top of your balloon with tape to create more “whipped cream!”
- Grab a red pom pom and tape it on top of the white tissue paper on top of your balloon. (This is your cherry on top!)

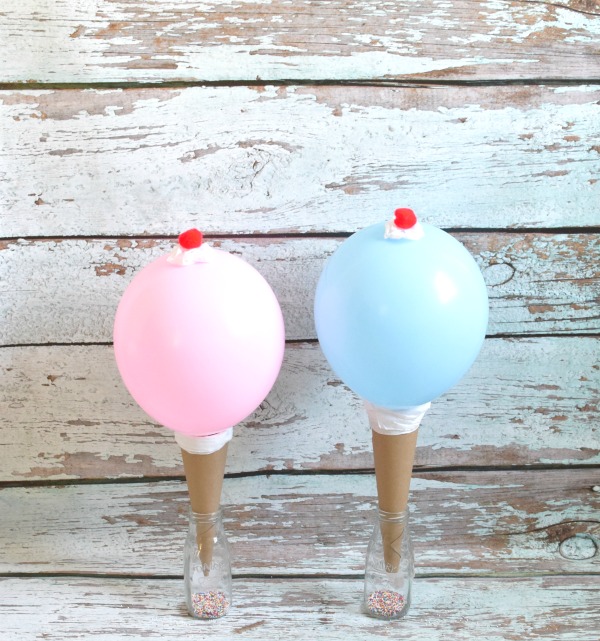
- Once you have a few ice cream cones finished, you can hang them with string, use them for table centerpieces, a fun ice cream dessert table backdrop, or as a fun photo booth prop for the kids. You can even add letters to your cones like ice cream or the child’s name. The possibilities are endless!

Be sure to visit BalloonTime.com and check out even more tips, tricks and DIYs for your next party!
Make party planning easier and pick up a Balloon Time® Helium Tank for their next party, project or surprise and check out the Surprise Anywhere video here: http://www.balloontime.com/party-ideas/moments/surprise-anywhere/.
